

Multichannel Set up
This guide covers adding Multichannel automatic Connectors, including Shopify and eBay, as well as setting up imports using Manual File Connectors.
It also covers configuring couriers and scheduling fulfilment imports and exports of your orders.
Add Multichannel Connectors
During a 7-day free trial, it is possible to add all three connector types, with up to 5 individual storefronts per connector type.
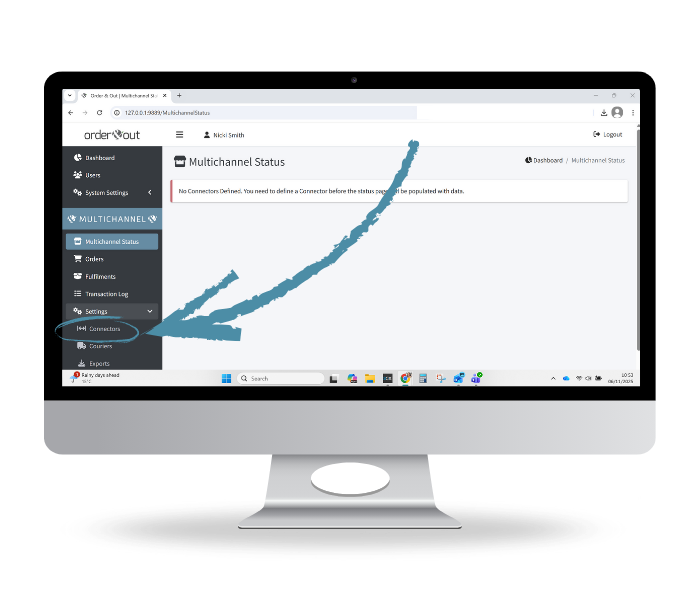
From the left-hand menu, click on Multichannel Settings, then click on Connectors.
Then follow the instructions below to add all your online stores.
Add Automated Connectors (Shopify & eBay)
Add Shopify Connector & Authorise Stores
-
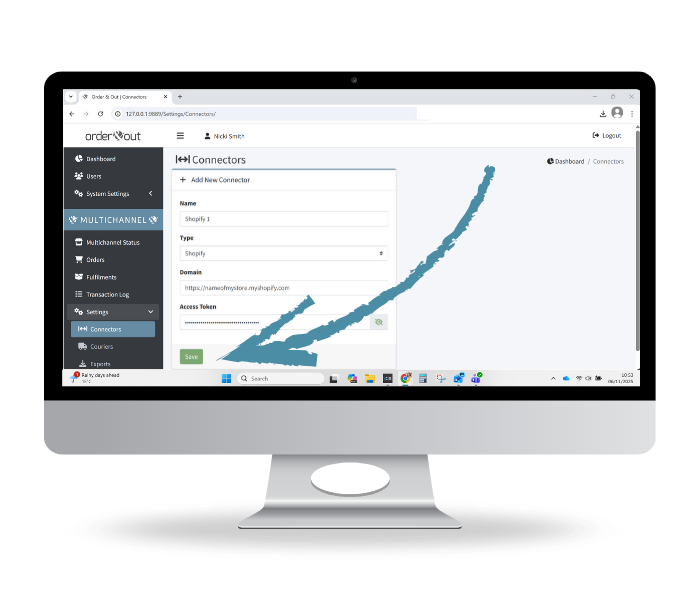
Give your store a (unique) name
-
From the dropdown list, select Shopify.
-
Enter the domain name for your Shopify store (example: https://nameofstore.myshopify.com
-
Enter the unique access token. This will begin with shpat_
The token, created when you register your connector with Shopify can be found in your Shopify Admin panel.
-
Click Save.
-
Repeat (for up to a max of 5 Shopify stores per connector).
Add eBay Connector & Authorise Stores
-
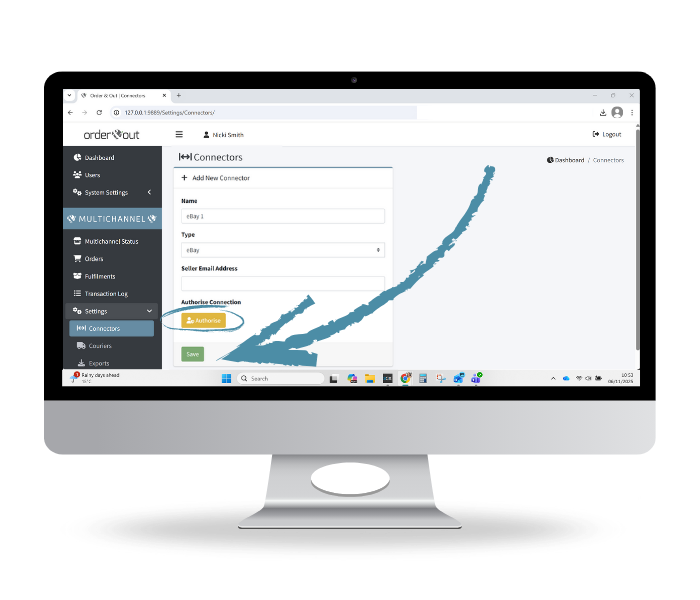
Give your eBay store a (unique) name
-
From the dropdown list, select eBay.
-
Enter the seller’s email address.
-
Click Authorise and you will be directed to eBay to log in and complete the authorisation process.
Authorise the connection, then return to the Order & Out application to finalise the set-up of this connector.
-
Click Save.
-
Repeat (for up to a max of 5 eBay stores per connector).
Have more than 5 eBay stores to add? Please reach out to our team.


Add Manual File Connectors
Follow these instructions to use the pre-mapped templates for the following stores: Amazon, Big Cartel, BigCommerce, Etsy, Shop On TV, Squarespace Commerce, Wix & WooCommerce.
For all other sales channels, jump to the next section
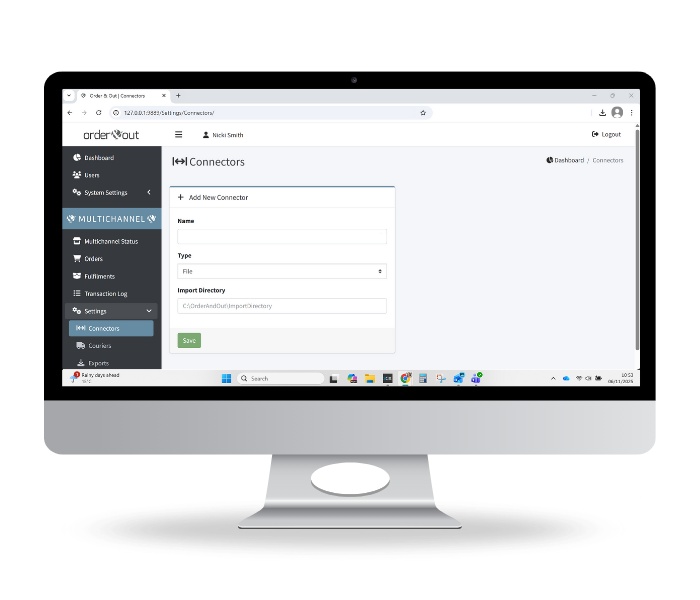
-
Give your store a (unique) name
-
From the dropdown list, select File.
-
Specify the location on your PC that the orders will be imported from (e.g C:\OAO Imports)
-
Click Save.
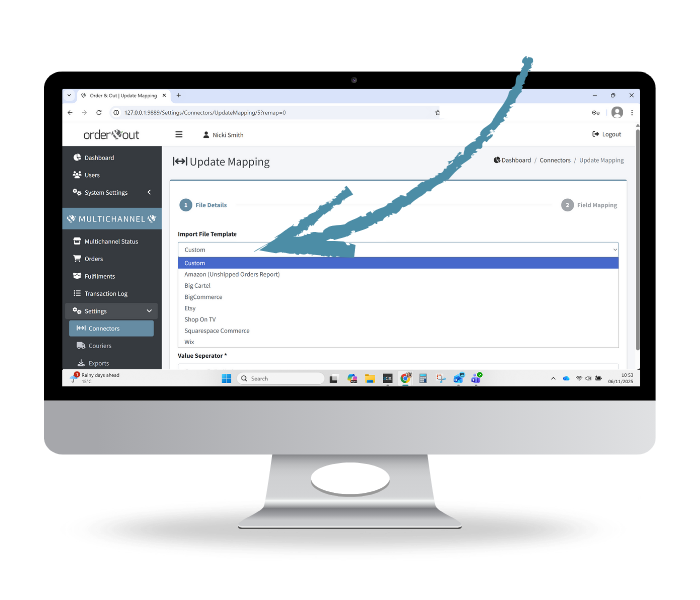
Add Manual File Connector
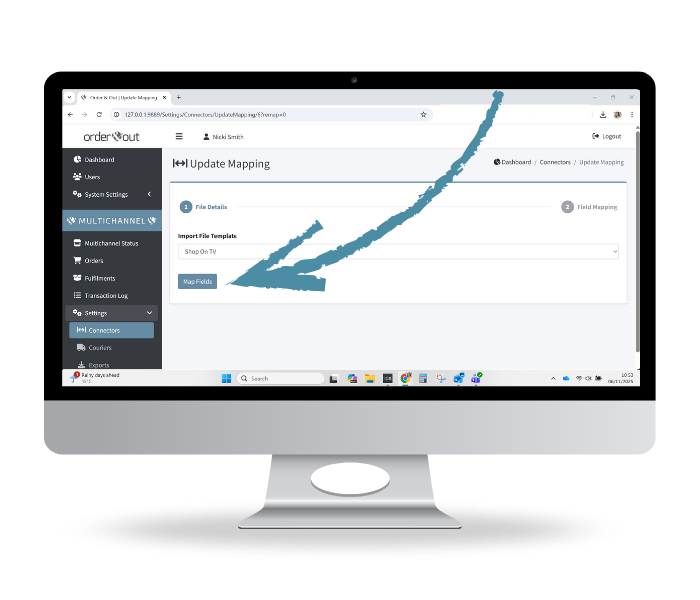
File Details
-
Select from the list of pre-mapped templates, including: Amazon (Unshipped Orders Report), Big Cartel, BigCommerce, Etsy, Shop On TV, Squarespace Commerce, Wix & WooCommerce.
Click Map Fields
Looking to add Shopify stores? Follow the instructions in 3.2 above.
Looking to add eBay stores? Follow the instructions in 3.3 above
Looking to add any other store? Follow the instructions in 4.4 below
-
The next screen allows you to check the mapping (and adjust if you need to).
Fields marked with a * are required.
-
Click Save Mapping.
Add Manual File Connector (All Other Stores)
Follow these instructions to use the custom import option for all other sales channels not listed above.
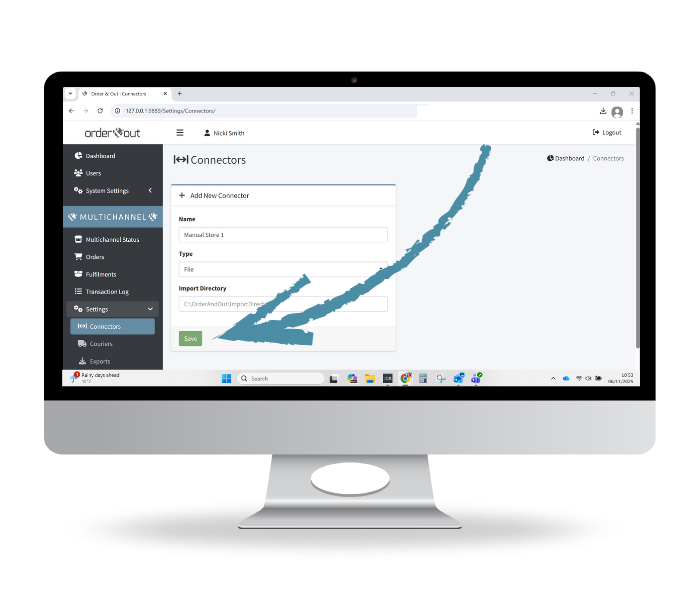
Add Manual File Connector
-
Give your store a (unique) name
-
From the dropdown list, select File.
-
Specify the location on your PC that the orders will be imported from (e.g C:\OAO Imports)
-
Click Save.

Map Fields
-
Map each field from your file with Order & Out.
You can apply Auto Map - or map each field individually.
Fields marked with a * are required.
Click Save Mapping.
-
Once you are happy, click Save Mapping.

File Detail
-
Select Custom from the dropdown list.
Choose a file from a location on your PC or drag it to upload.
-
From the drop-down list, specify if the file is Comma Delimited or Tab Delimited. Comma-separated is most commonly used; if unsure, open the file with Notepad and compare your file to the following examples:
Comma-separated: Separator used: Comma ( , ) eg: Name, Age, City
Tab-separated: Separator used: Tab ( \t ) eg, Name\tAge\tCity
-
Then use the slider to indicate if the file has a header row.
Delivery & Collection Services
Manage how orders are fulfilled - including couriers, local delivery, and customer collection options.
The services defined here are used by both the Multichannel and Warehousing modules.
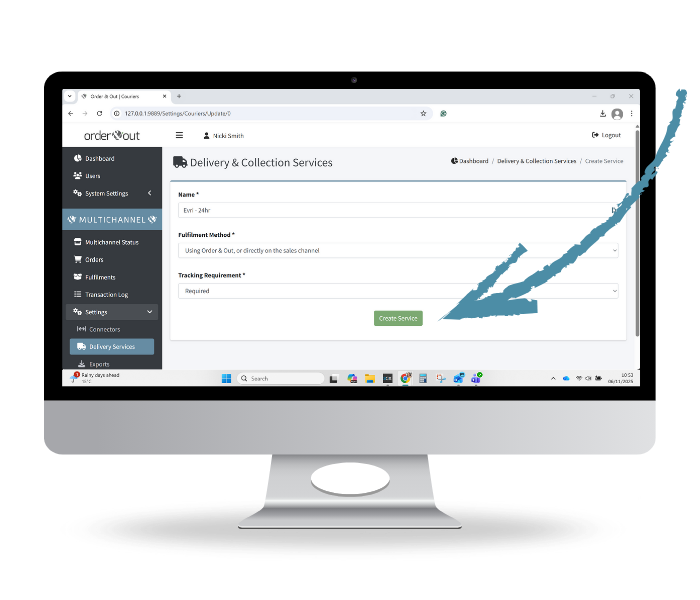
Add Delivery Service
-
From the Multichannel Menu, click Settings, then Delivery Services.
‘Other’ will already exist by system default and can be used for despatches/collections.
To add a new delivery service - click Add Delivery Service.
NB: If you plan to use the full Warehousing functionality, all relevant services for your sales channels should be added.
For Automated Connectors (Shopify & eBay), couriers will need to be defined for the tracking information to be sent back to your sales channel(s).
-
For orders fulfilled within Order & Out, choose Using Order & Out, or directly on the sales channel.
For orders fulfilled outside of Order & Out (directly via the sales channel), choose Directly on the Sales Channel. This is typically for customer collections or special fulfillment methods that can only be processed within the sales channel.
NB: Orders with the despatch method Directly on the Sales Channel will not appear in the Order & Out Warehousing dashboard.
-
Define if tracking information is None, Optional or Required.
The default setting is Optional.
-
Click Create Service.
-
Once the delivery method has been added, click the edit icon on the right side of the screen to define which sales channels use this service.
-
Repeat as needed for other delivery/collection services.

Define Delivery Service
-
Once the delivery methods have been added, click the edit icon on the right side of the screen to define which sales channels use this service.
Enter the Channel Delivery Service from your sales channel (which can be found on the Order Enquiry screen)
-
Repeat as needed.
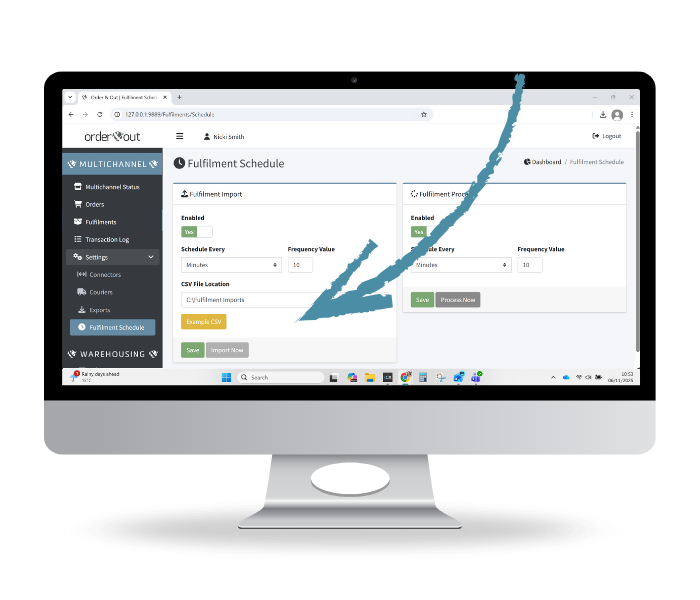
Fulfilment Schedule
Follow these steps to configure a fulfilment import schedule.
Once set up, the scheduled import will run and update orders on the Order & Out dashboard with fulfilment or part-despatch details from the imported files. Fulfilment schedules are optional and work independently of the Warehousing module, but can also be used alongside it.
Schedule Fulfilment Import
-
Click Example CSV to download an example CSV file, which shows the format necessary for fulfilment imports.
-
Click on Fulfilment Schedule from the Multichannel Menu.
-
Slide the toggle to Yes to enable the schedule (or leave as No until ready to trigger the import).
-
Specify the schedule frequency (in minutes or hours).
-
Specify the file location on your PC (e.g C:\OAO Fulfilment Imports).
-
Click Save.
Once you have saved the schedule, it is possible to force it to run immediately by clicking Import Now.
Where to next?

Contact Us
Have a question? Get in touch with our team here.